Reinforced panel profile
The formed bends add stiffness to the mesh. Specify their number and position on the panel drawing, especially where adjoining bays need to line up.
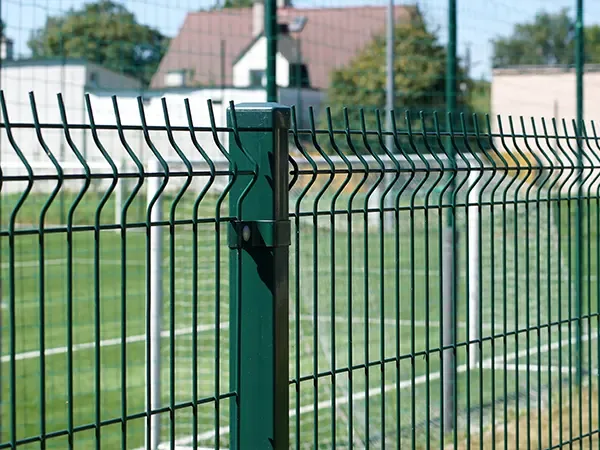
Profiled panels / perimeter fencing
A defined boundary. An open view.
Horizontal V-bends give welded mesh its distinctive three-dimensional profile. The result is a rigid panel format for residential, commercial and landscaped boundaries where visibility matters.
The profile makes the difference
Start with the boundary’s purpose, then coordinate the panel geometry with the post layout. The folds, wire arrangement and connections should be considered together—not selected as isolated parts.
The formed bends add stiffness to the mesh. Specify their number and position on the panel drawing, especially where adjoining bays need to line up.
The wire grid keeps views through the fence. For screening, access control or more demanding security requirements, discuss those needs separately.
Identify straight runs, corners, changes in ground level and gate openings before confirming panel quantities and the post schedule.
Technical details
Use the lettered drawing to build a clear enquiry. Final dimensions, wire sizes and coating requirements are agreed in the quotation and project drawings.
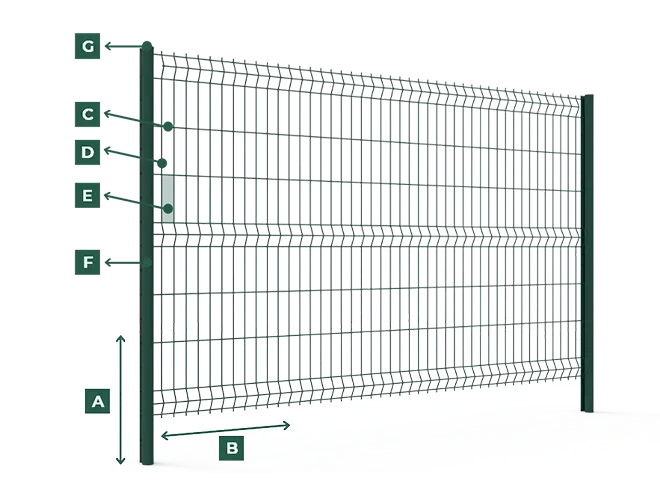
| Item | What to specify |
|---|---|
| A · Panel height | Panel height, finished fence height and required ground clearance. |
| B · Panel width | Panel width, post centres and total fence run; identify any short closing bays. |
| C · Line wire | Vertical wire diameter; distinguish the steel core from the coated diameter. |
| D · Cross wire | Horizontal wire diameter, including wires within the reinforcing bends. |
| E · Mesh opening | Horizontal and vertical spacing, with the measurement convention stated. |
| F · Post | Profile, section, wall thickness, length and mounting arrangement. |
| G · Post cap | Cap shape and material compatible with the selected post section. |
| V-bend profile | Number, depth and position of folds; show the top-edge orientation. |
Connections & installation
Post profiles use different panel-retention arrangements. Confirm the complete connection, including corners and ends, rather than mixing components by appearance.
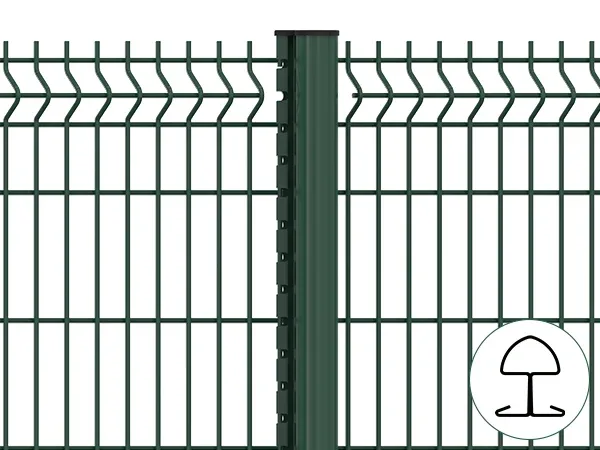
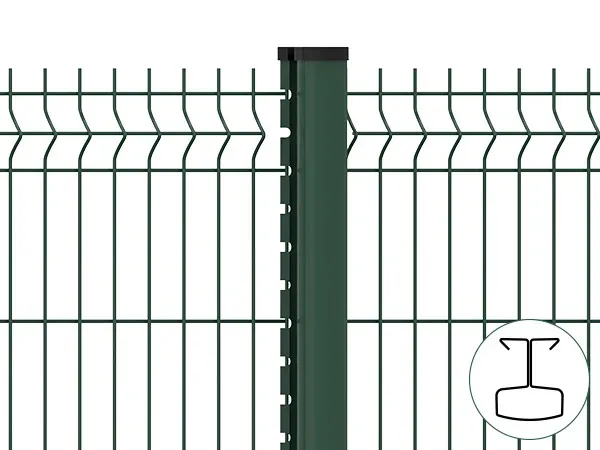
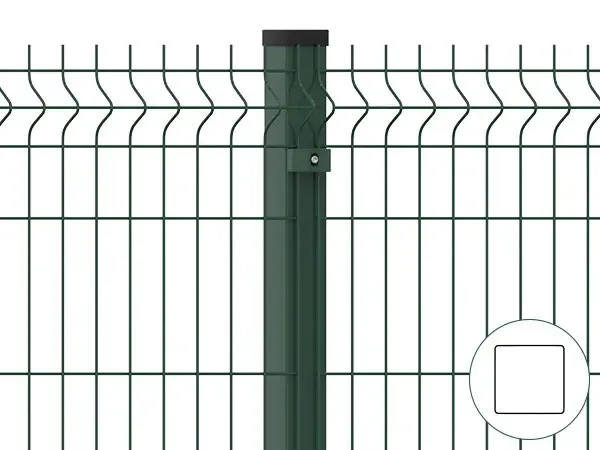
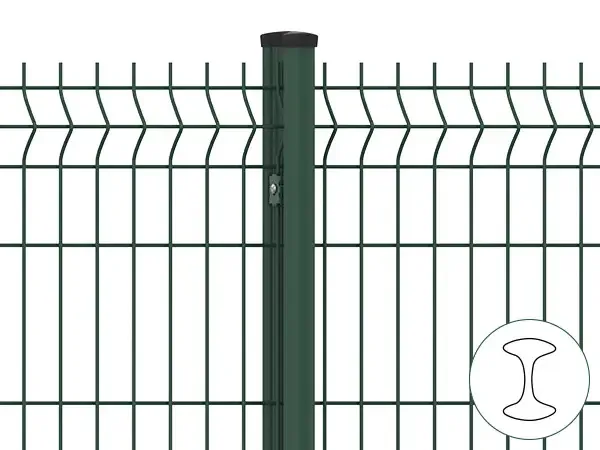
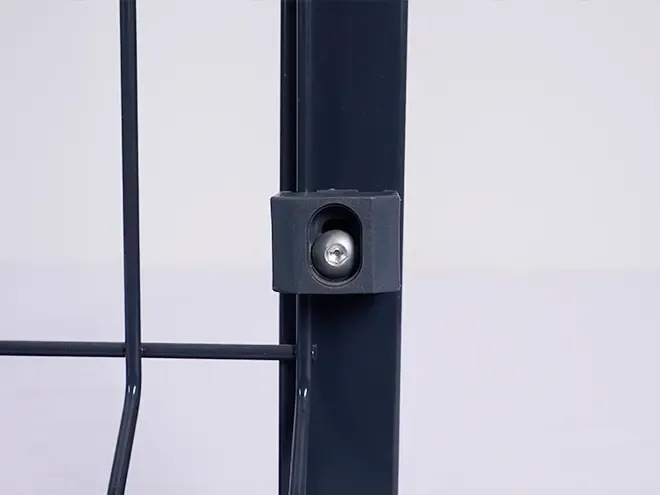
Agree the clamp type, fastener access and fixing positions. Check that the selected fittings retain the panel edge without obstructing the fold or adjacent bay.
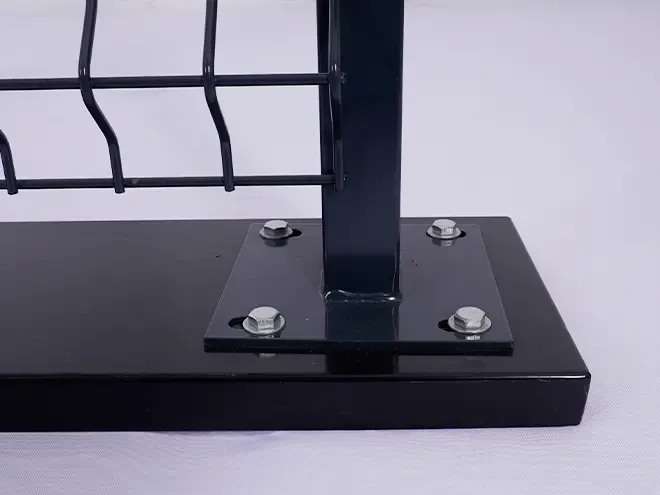
Choose the mounting method from the ground conditions. Specify anchorage and embedment to suit the substrate, fence height and site loads.
Provide levels along the fence line and the clear gate openings. Resolve stepped bays, bottom gaps and transitions before ordering; posts at gates, ends and corners may need a different arrangement from intermediate posts.
Surface & colour
Describe the installation environment and expected maintenance access. The substrate, surface preparation and coating build-up belong in the same specification.
Discuss your finish requirements →Define zinc protection and the required treatment of welded areas and cut edges.
State the coating system and colour reference. Powder, PVC and PE coatings should not be treated as interchangeable descriptions.
Coordinate panels, posts, clamps and gates against the approved finish schedule.
Inspection & delivery planning
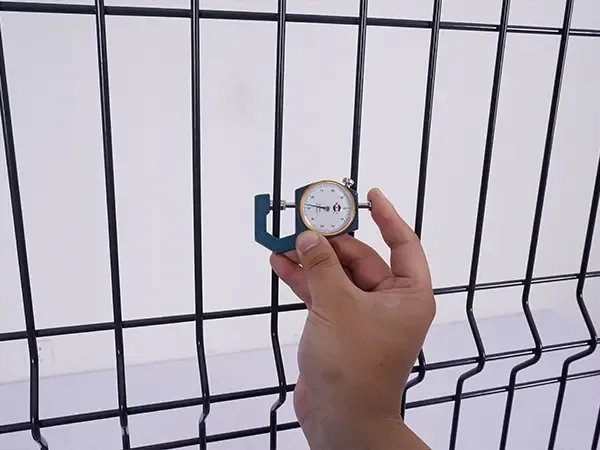
Agree the inspection record before ordering: wire size, mesh spacing, overall panel dimensions, fold geometry, weld condition and finish. State tolerances and whether measurements refer to bare or coated wire.
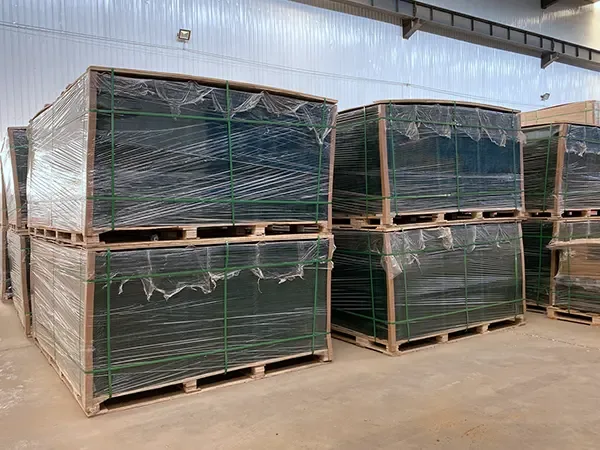
Define panel protection, bundle identification and unloading arrangements. Keep posts and fittings traceable to the packing list, particularly for mixed heights or deliveries that include gates.
Application planning
Choose the fence around how people and vehicles use the boundary. These views illustrate fence arrangements; the appropriate specification depends on your site.
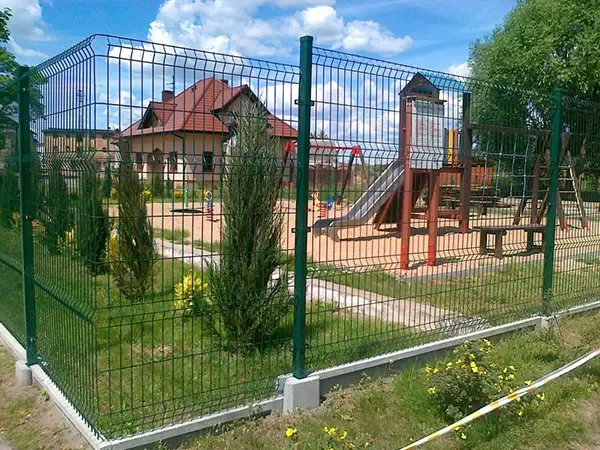
Coordinate the boundary with paths, planting and access points. Review top edges and ground gaps where people regularly approach the fence.
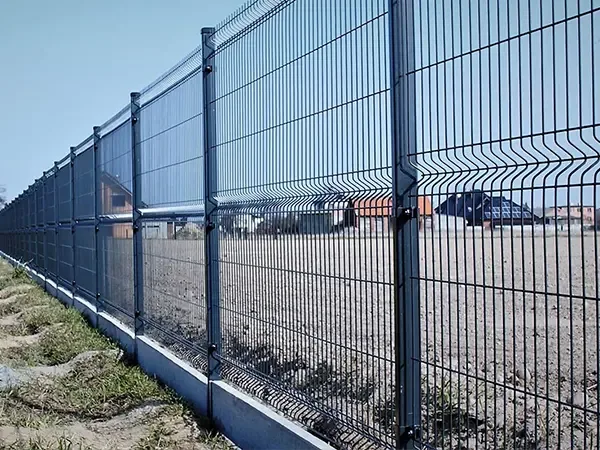
Mark vehicle entrances, service routes and changes in level. Where anti-climb performance is a priority, compare 358 close-mesh fencing.
ZY-fencing / Project enquiry
A marked-up plan helps turn a boundary length into a coordinated panel and post schedule.